← Back to Blog

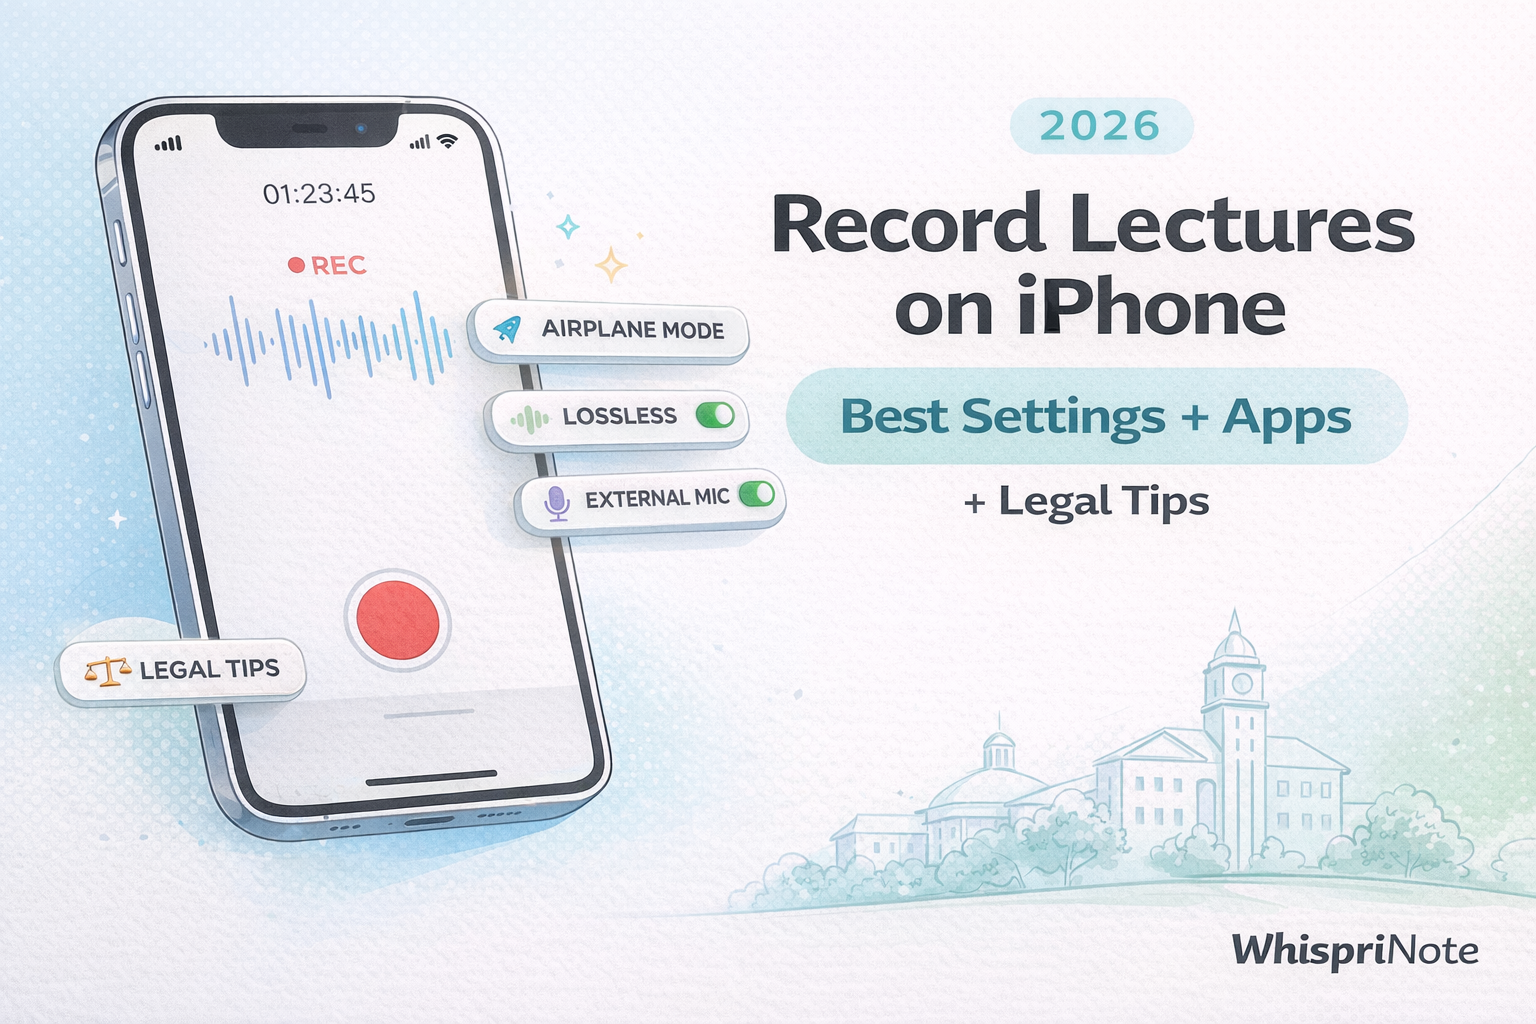
How to Record Lectures on iPhone (2026): Best Settings, Apps, and Legal Tips

By WhispriNote Team
December 26, 2025
6 min read
How to Record Lectures on iPhone (2026): Best Settings, Apps, and Legal Tips
WhispriNote
Try WhispriNote free
Paste a YouTube link to turn any lecture or tutorial into clean, structured study notes.

Recording lectures is only useful if the audio is clear and you can study from it later.

This guide covers:

  • the fastest way to record (Voice Memos)
  • best settings and placement tips for clear audio
  • when to use screen recording
  • legal and campus policy tips (with a link to our full legality guide)

Quick answer (best setup for most students)

  1. Use Voice Memos (built-in) and do a 10-second test
  2. Put your iPhone on the desk (not in your pocket) facing the speaker
  3. Use Focus / Do Not Disturb and consider Airplane Mode
  4. After class, share or export the recording as an audio file (Voice Memos exports .m4a by default)

Part 1: The best built-in option (Voice Memos)

Apple Voice Memos can record using the built-in mic, a supported headset, or an external microphone, and you can keep recording while using other apps (you will see the recording status via Dynamic Island on supported models).

A) Before class: 60-second checklist

  • Turn on Focus / Do Not Disturb (no notification dings)
  • Turn on Airplane Mode (optional: re-enable Wi-Fi if you need it)
  • Make sure you have storage (long lectures create big files)
  • Plug into power if your battery is low
  • Record 10 seconds and play it back once

B) Best settings (quality vs file size)

Voice Memos has an Audio Quality setting (commonly Compressed vs Lossless).

  • Choose Lossless if you want cleaner audio and you have storage
  • Choose Compressed if storage is tight (still fine for many lectures)

Tip: If your lecture is content-heavy (math, definitions, fast speaking), quality matters more than file size.

C) Placement: the number one factor for clarity

Do this:

  • Place iPhone on a desk or table, mic facing the speaker
  • Keep it uncovered (no pocket or bag)
  • 1 to 2 meters from the front is often better than the back of a big room
  • If there is a lot of ambient noise, move closer rather than turning up volume later

Part 2: Export the recording so you can study from it later

Share or export from Voice Memos

After class:

  1. Open Voice Memos and select the recording
  2. Tap Share
  3. Export to Files (or send to yourself)

By default, Voice Memos exports recordings as .m4a.
If you use Share options, you may also see Rendered vs Editable depending on effects or layers.


Quick WhispriNote option: turn lecture audio into structured notes and diagrams

Once you have a lecture audio file (from Voice Memos or any recorder), the fastest way to study is to convert it into:

  • structured study notes (headings, key points, summaries)
  • visual diagrams (flowcharts, mind maps, timelines) for hard concepts

WhispriNote is built for that. Record in the app or upload your lecture audio, then generate structured notes and diagrams.

WhispriNote study notes example

Structured notes and diagrams make review much faster.

WhispriNote visual views can turn dense lectures into flowcharts, mind maps, and timelines so you can see the structure at a glance.
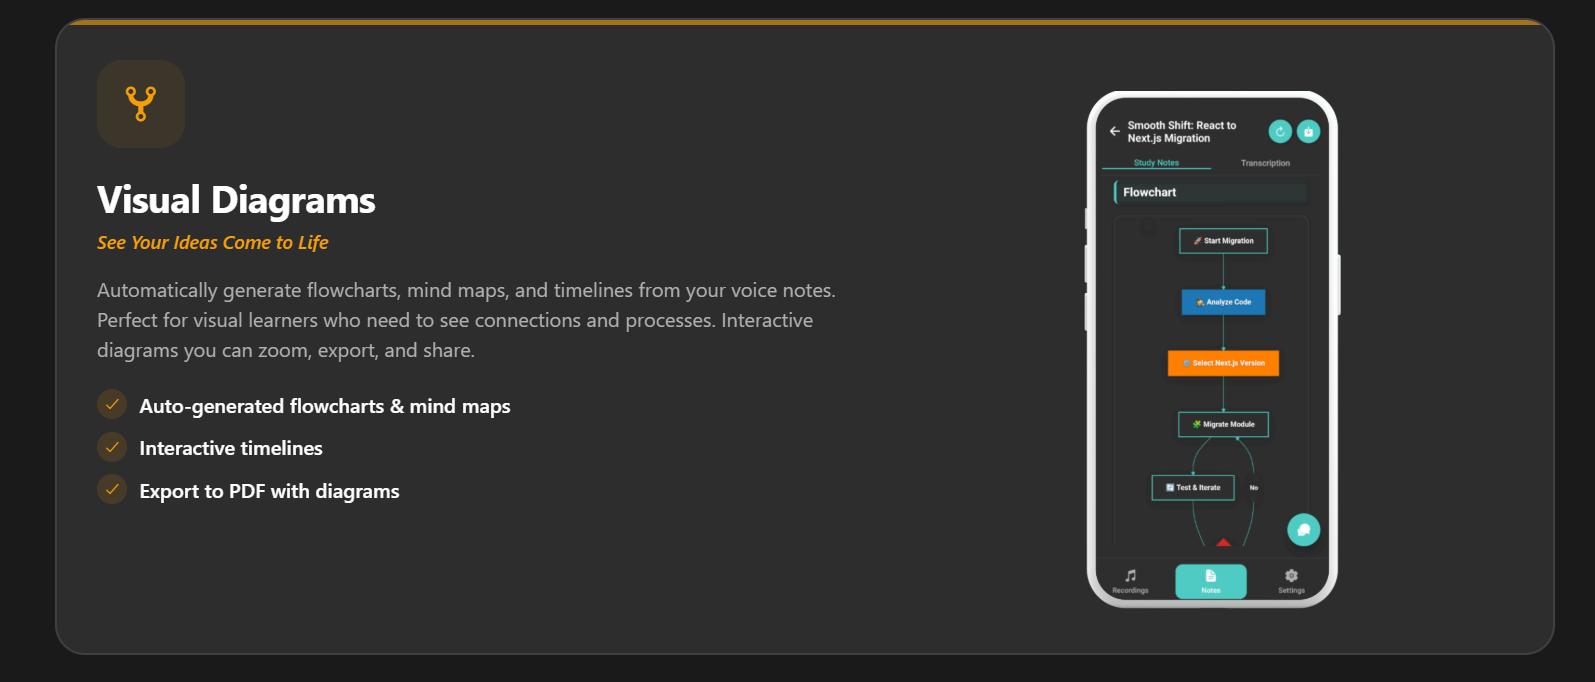
WhispriNote mind map view for visual study review
Mind map view helps connect concepts and relationships.
WhispriNote flowchart view for processes and step-by-step lectures
Flowchart view highlights steps and cause-effect paths.

Part 3: When screen recording is better than audio-only

WhispriNote
Turn this workflow into notes in minutes
Get timestamps, summaries, and study-ready outputs without pausing the video.

Use screen recording when you need:

  • the instructor's on-screen demo (software, slides, diagrams)
  • proof of the exact steps taken in a tutorial

How to record screen and mic

  • Start a screen recording from Control Center
  • Turn the Microphone on in the screen recording controls so room audio is captured too

Part 4: Pro upgrades for clearer recordings

1) Use an external mic (biggest quality jump)

If your class is large or noisy, even a simple wired mic placed near the front can be a major upgrade.

2) Use Mic Modes (if your iOS and app supports it)

Apple supports Mic Modes like Voice Isolation in supported apps. The mode can be changed in Control Center during a recording (availability depends on device, iOS version, and app support).
If you see it, Voice Isolation can help reduce background noise.

3) Playback cleanup (helpful but not magic)

Voice Memos includes playback options like reduce background noise and playback speed. These are playback settings and do not change the original recording.


Recording lectures can be allowed, restricted, or conditionally allowed depending on:

  • your local laws (consent rules vary)
  • your school policy or syllabus rules
  • accessibility accommodations

Practical tips:

  • If you are unsure, ask the instructor for permission in writing
  • Do not share recordings publicly or in group chats
  • Treat recordings as private study material

Read the full guide here:


FAQ

What file format does iPhone Voice Memos export?

Typically .m4a when exported or shared.

Should I record in Lossless?

Use Lossless if you have storage and want the cleanest audio. For many lectures, compressed is still usable. Placement matters more.

Is it better to record audio or screen record?

Audio is simpler and smaller. Screen recording is better when the lecture is mostly visual demos.


Start free with WhispriNote

Get WhispriNote - Start free with up to 5 notes.

Turn lecture audio into structured notes and diagrams in minutes.

Or continue on the WhispriNote web app.


Keep Learning

Explore more articles on our blog.


Last updated: 2025-12-26 - Reading time: ~6 minutes

Tags:
record lectures on iphone
iphone voice memos lecture
best audio recording settings iphone
screen recording microphone iphone
lecture recording legal
← Back to All Posts